EV3 Brick
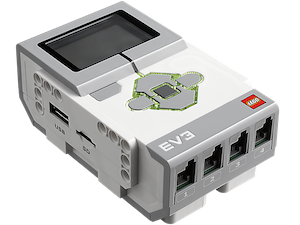
The EV3 brick represents the heart and the brain of every robot. After inserting the battery on its bottom and a microSD card with our customized, Debian-based ev3dev operating system, you may start programming it with Python. While there are a lot of external accessories like motors and sensors, you will probably also use some of its basic functions.

Specifications
| CPU | 300MHz TI Sitara AM1808 (ARM9 core) |
| RAM | 64MB |
| LCD | 178x128 pixels, monochrome |
| I/O | microSD slot, Bluetooth, USB host/slave, 4 in- and output ports each |
In- and Outputs
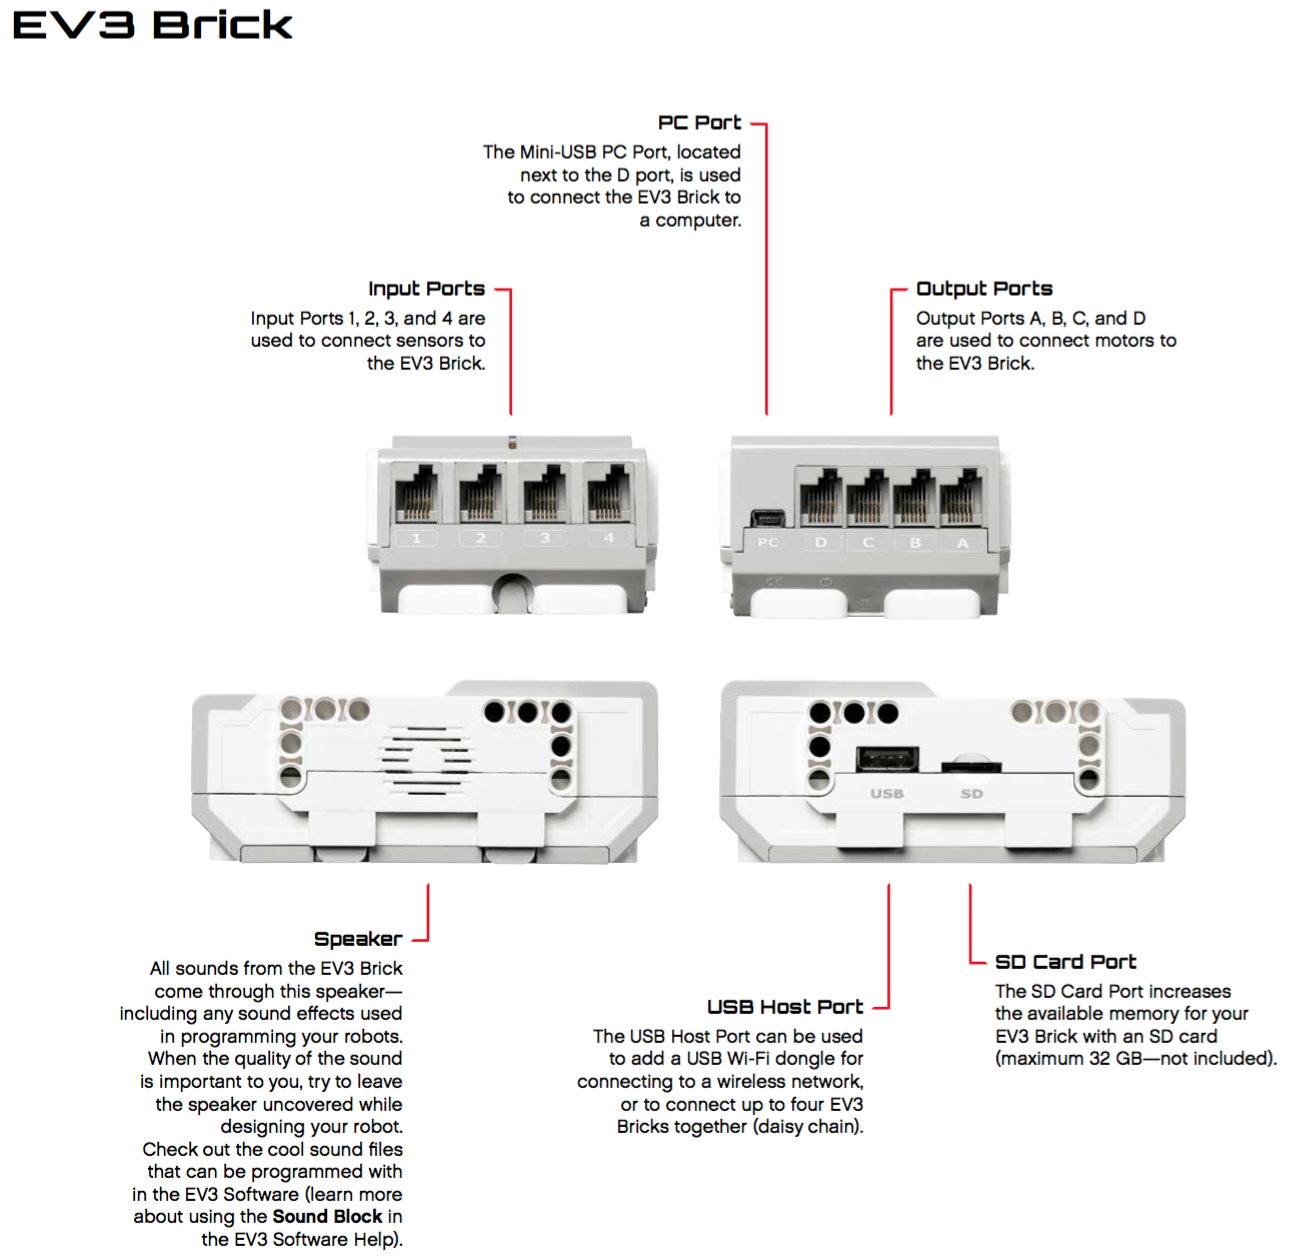
Inputs 1 to 4 and outputs A to D are located on both smaller sides of the brick.
The inputs are exclusively used to connect sensors to the brick, and the outputs to connect motors.
Right next to the outputs you can find a Mini USB connector labeled PC.
You can connect the brick to a computer using a cable.
The connection is handled as a network connection, so it appears the same as if you had established a Wi-Fi or a Bluetooth connection.
On one side of the brick you will also find a microSD slot, and a full size USB port to which you may connect additional accessories, like a Wi-Fi stick.
Display Unit
The EV3 brick has a monochrome LCD. After turning on the brick, the display shows a menu to browse files and devices, to set up a connection with a computer, or to see the specification of the battery and the brick. It is also used to show text or images as an output of a program running on the brick.
import ev3dev.ev3 as ev3

screen = ev3.Screen()
screen.draw.text((0,0), 'Hello World!')
screen.draw.rectangle((10,10,60,20), fill='black')
screen.update() # Applies all changes to the display
If you want to take a screenshot of the current display output you can capture the content of the framebuffer as follows:
fbgrab dump.png
Controls
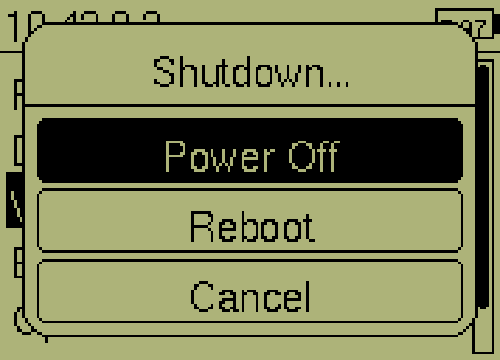
Below the display, in the center of the brick, are the main controls for navigating through menus. Within lies a button to turn on the unit. The separate button on the left-hand corner is to leave a menu. When pressed in the main screen, it also prompts a dialog for power off or reboot of the brick.
Example 1: Callback for single button
import ev3dev.ev3 as ev3
from time import sleep

def up_callback(state):
    print('Up button pressed' if state else 'Up button released')

btn = ev3.Button()
btn.on_up = up_callback

while True:
    btn.process()  # Loop internal button states and execute callbacks defined
    sleep(0.250)
Example 2: Listen to any button
import ev3dev.ev3 as ev3
from time import sleep

btn = ev3.Button()
if btn.any():
    ...  # Execute something here
Audio Output
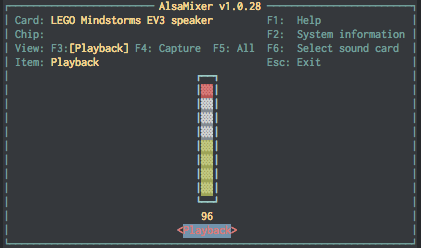
The EV3 brick supports various types of direct audio output, as it comes with a built-in speaker. No matter if you want your robot to speak, beep, play some melodies, or even be a one-man band and play Beethoven’s Symphony No. 9, please respect your neighbors and control the volume with the command line utility alsamixer.

import ev3dev.ev3 as ev3

ev3.Sound.beep()  # beep
ev3.Sound.tone([(200, 100, 100), (500, 200)])  # list of (frequency (Hz), duration (ms), delay to next (ms)) tuples
ev3.Sound.speak('Hey there!')  # speak given text


